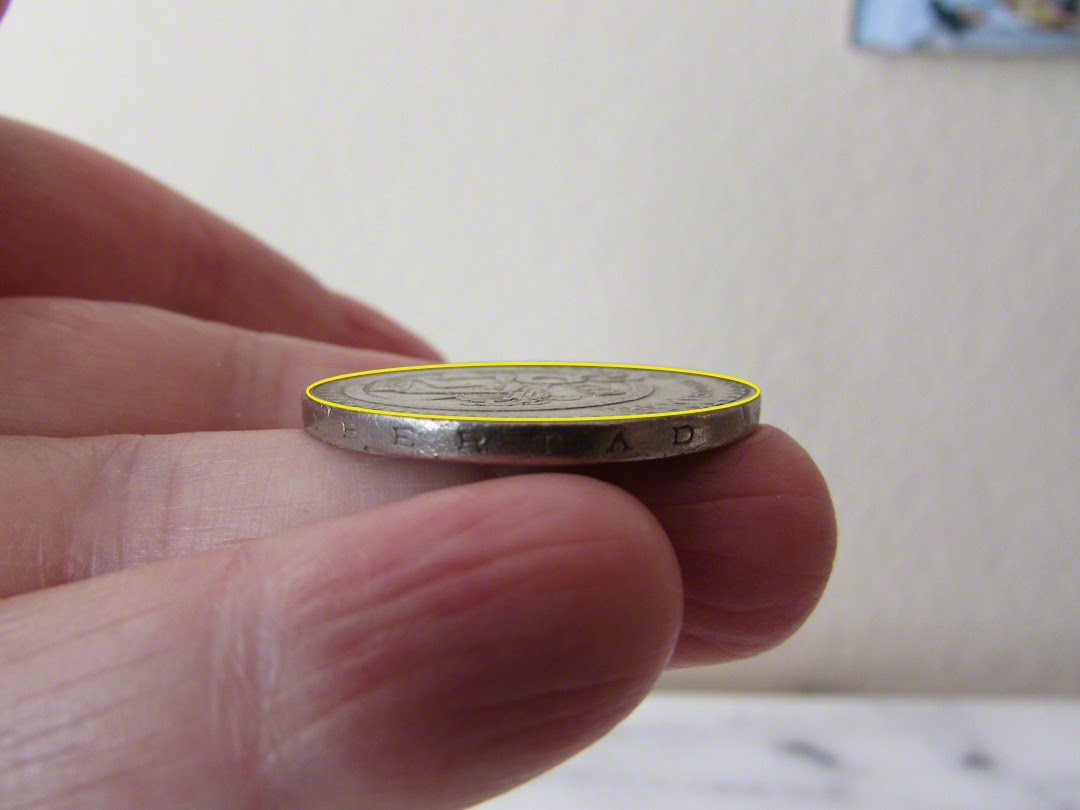
Foreshortening is a visual effect experienced when objects recede (move away from us) in space: objects appear smaller as they pull away, parallel lines appear to converge as they pull away, and nearer objects may overlap and obscure farther objects.
All of that is fairly clear and, over time, we do a pretty good job of incorporating it into our artwork. But there are two things that can prove particularly challenging: the foreshortened circle, and the subconscious struggle between what we "see" and what we "know" (and which of these two we choose to depict in our artwork.)
(the circle is defined here in yellow)
What we know about circles -- a circle is a curved shape with a constant radius. This is also what we
see if we view the shape from a 90º angle. And, if we draw it, the circle could be said to have equal width and height.
What we see -- this is were things go variable.
viewed from the side (width, no height)
If the circle and our eye level share the same plane, we see the circle as a flat line (width, but no height.)
slightly beneath eye level - width and a little height (see the mouth of the pot)
farther beneath eye level -- width and more height (see the incised circles on the pot)
and further down still (see the bottom of the pot)
As the circle moves below our eye level the width remains constant while the "height" increases as the circle drops farther below your eye level. (NOTE: this will also occur if the circle moves above your eye level.)
our eye level is just above the vase, notice how the height of each lower
circle increases in relationship to its width
If you bisect a foreshortened circle with a line running horizontally through its widest point, the upper curve will be identical to the lower curve.
How to draw foreshortened circles -- if you have a set consisting of more than one circle, begin with the circle on or closest to your eye level.
If you are drawing a complete foreshortened circle, place a straightedge (such as the handle of a paint brush) across the circle's horizontal width.
Observe and draw its upper curve.
Repeat the process with the lower curve.
Modify the upper and lower curves to match. (BE CAREFUL: Observe that the outer-most "points" on the circle are steady arcs, NOT points.)
(note the three incised circles curving down from the straightedge)
If you are only drawing half of the circle (for example, the forward half of a circle that passes around the outside of an opaque cylinder), place your straightedge across the widest part of the circle and draw the visible curve.
What you see vs. what you "know" -- probably the easiest way to discuss this conflict is by giving an example using the vase.
what we see vs...
...what we "know"
If the vase is below your eye level, the visible half of the circle that describes its base will curve downward toward its center. However, we KNOW that the base of the vase sits flat upon the table's surface. And, if we allow our subconscious to dictate what we draw (i.e., we draw what we "know"), we will inadvertently put our viewer's eye level in two places -- above the table and on the table's surface -- at once.
foreshortened circle (yellow oval) to the right of our line-of-sight
Final note: if we stand the circle up on one end we will experience the same foreshortening effects as the circle moves to the left (or right) of our straight-ahead "line-of-sight."


